


Register Your Purchase
Register Your Insert
Register Now
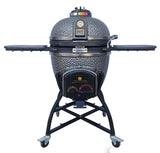
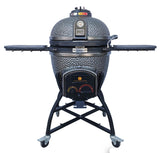
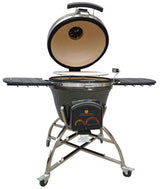
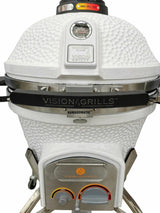
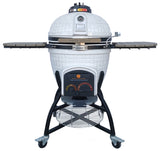
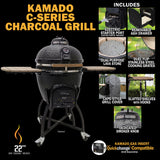
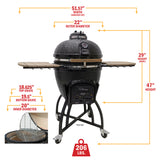
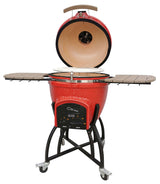
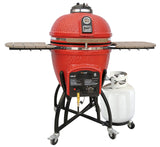
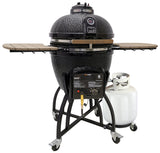
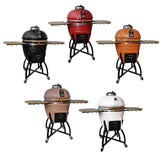
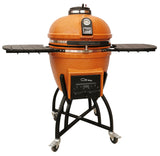
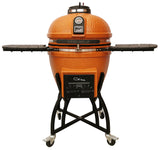
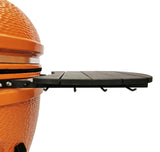
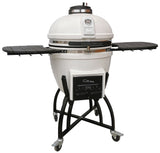
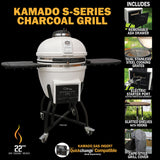
Register Your Grill
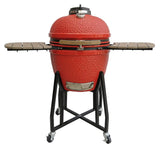
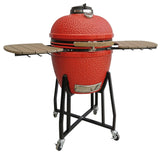
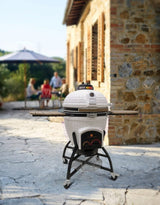
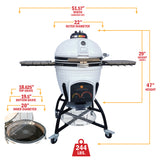
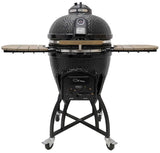
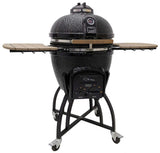
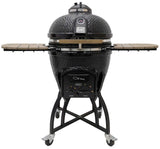
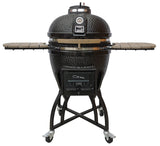
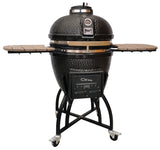
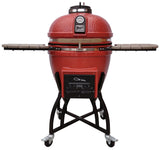
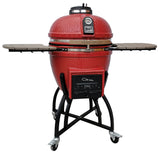
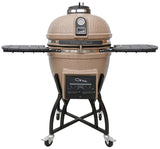
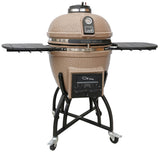
Register NowVision Grill 101
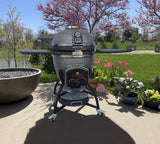
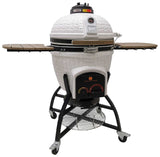
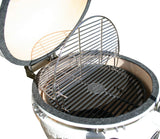
How to operate your grill…
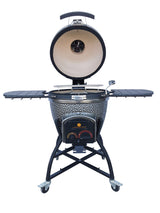
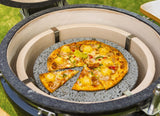
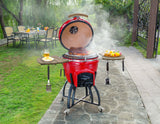
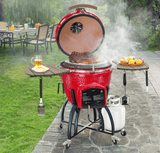
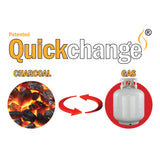
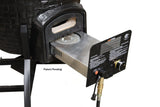
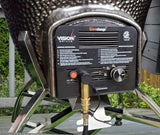
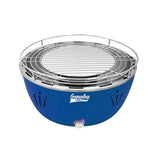
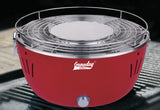
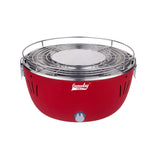
Selecting the Right Fuel for Your Vision Grills Ceramic Kamado
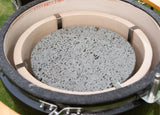
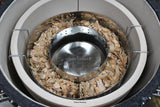
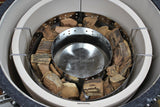
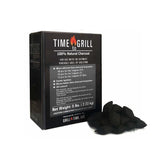
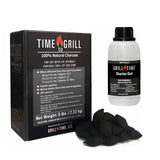
To get the safest, most authentic flavor of charcoal grilling, we strongly recommend using 100% Natural Hardwood Lump Charcoal. Created by burning wood in the absence of oxygen and chemical additives, hardwood lump charcoal lights quicker, burns hotter, offers greater temperature control, creates less ash, and eliminates chemical transfer to food.
While charcoal briquettes may be less expensive, they are manufactured from compressed sawdust and additives that assist in lighting. The additives in briquettes produce a chemical smell and taste that transfers to food and produces significant ash.
DO NOT USE LIGHTER FLUID to ignite lump charcoal.
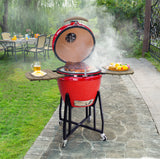
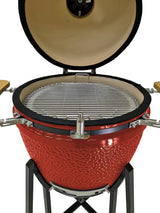
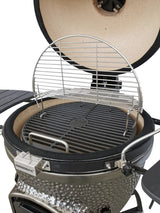
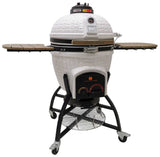
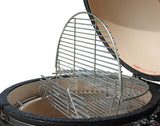
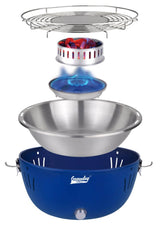
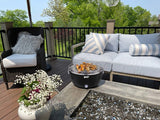
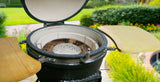
Lighting Your Vision Grills Ceramic Kamado
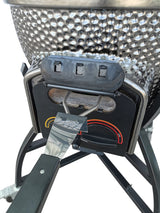
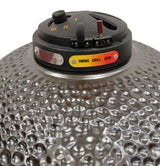
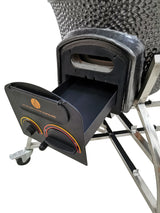
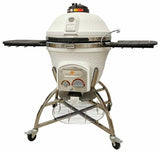
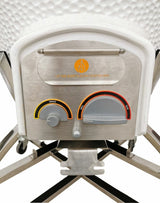
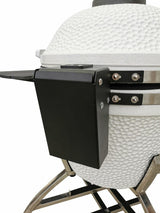
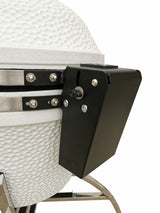
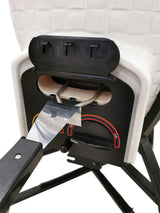
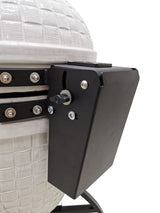
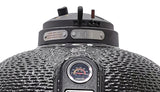
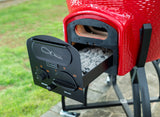
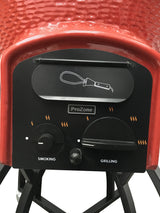
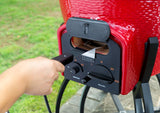
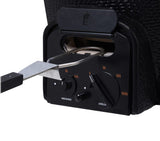
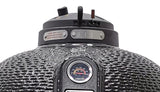
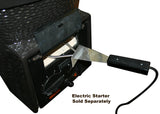
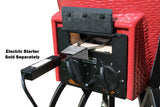
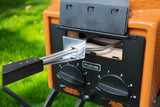
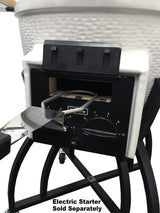
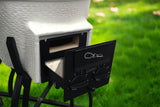
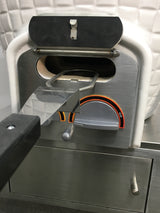
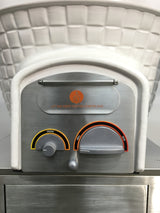
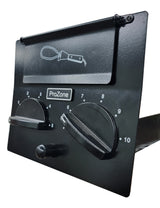
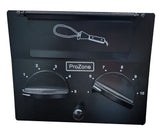
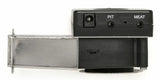
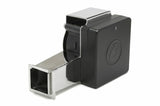
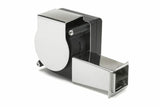
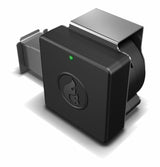
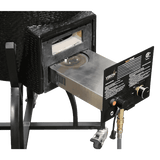
Professional Series with Pro Zone™
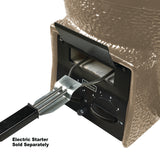
These models are specifically designed for easy lighting using standard electric starters.
DO NOT USE LIGHTER FLUID to ignite lump charcoal.
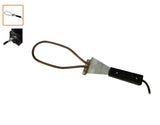
Using An Electric Starter:
- Open all vents.
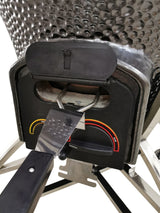
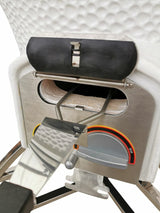
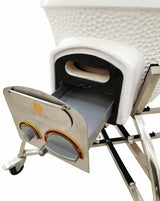
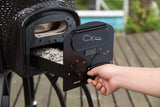
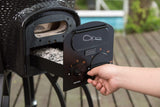
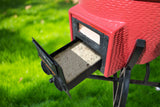
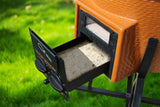
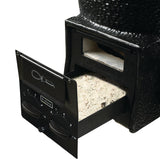
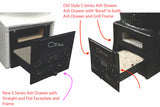
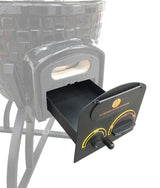
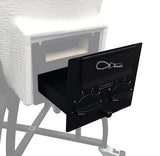
- Insert the electric starter into the Pro Zone Electric Starter Port (the flipper door at the top of the ash drawer).
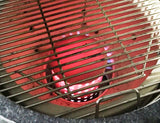
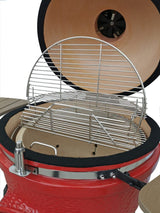
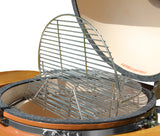
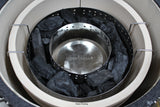
- Add charcoal inside the fire bowl, then plug in electric starter.
- Wait until several pieces of lump ember and you begin to see smoke. Allow 10 – 15 minutes for charcoal to light.
- Unplug, then remove the electric starter from the pile.
- Place the hot starter on a surface that will not ignite and that’s in a safe location out of reach while it cools.
- Spread charcoal out to be level within the bowl.
- Close lid and adjust top and bottom vents to allow grill to reach the desired cooking temperature. Allow 10-20 minutes to “set” temperature before putting food on the grill.
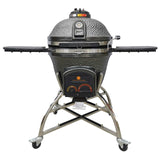
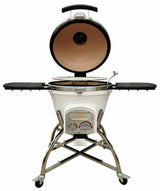
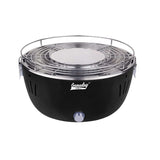
Classic Series Models
There are several methods for lighting the lump charcoal in your Vision Grills Ceramic Kamado.
DO NOT USE LIGHTER FLUID to ignite lump charcoal.
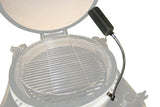
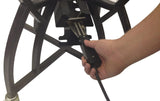
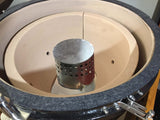
Using An Electric Starter:
- Open all vents.
- Place the electric starter at the bottom of the grill and stack several pieces of lump charcoal on top.
- Wait until several pieces of lump ember and you begin to see smoke. Allow 10 – 15 minutes for charcoal to light.
- Unplug then remove the electric starter from the pile.
- Place the hot starter on a surface that will not ignite and in a safe location out of reach while it cools.
- Spread charcoal out to be level within the bowl.
- Close lid and adjust top and bottom vents to allow grill to reach the desired cooking temperature. Allow 10-20 minutes to “set” temperature before putting food on the grill.
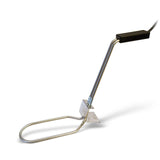
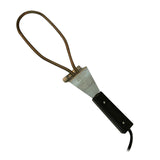
**We recommend using a Vision Grills electric starter that has a bent geometry for easier lighting down inside the fire bowl .
Using Charcoal Fire Starters:
- Open all vents.
- Place recommended number of charcoal starters into the pile of charcoal and light starter(s).
- Wait until several pieces of lump ember and you begin to see smoke. Allow 10 – 15 minutes for charcoal to light.
- Spread charcoal out to be level within the bowl.
- Close lid and adjust top and bottom vents to allow grill to reach the desired cooking temperature. Allow 10-20 minutes to “set” temperature before putting food on the grill.
Using a Charcoal Chimney:
- Open all vents.
- Loosely stuff 2 pieces of newspaper in the bottom of the chimney, fill chimney with lump charcoal, then light paper and set into fire bowl.
- Wait until several pieces of lump ember and you begin to see smoke. Allow 10 – 15 minutes for charcoal to light.
- Pour charcoal into the fire bowl and as add additional charcoal.
- Spread charcoal out to be level within the bowl.
- Close lid and adjust top and bottom vents to allow grill to reach the desired cooking temperature. Allow 10-20 minutes to “set” temperature before putting food on the grill.
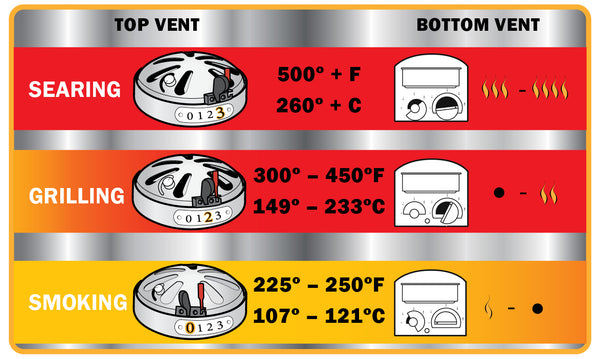
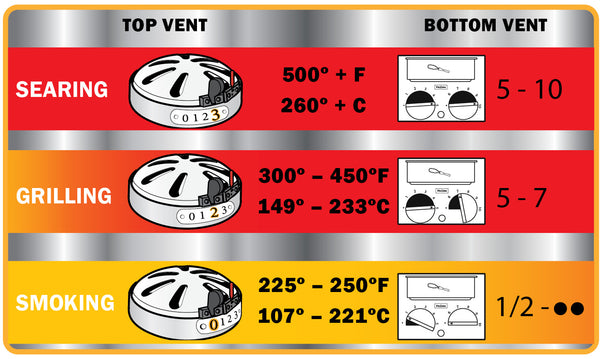
(The settings listed below are general guidelines. Various factors can affect your specific setting.)
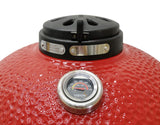
Temperature
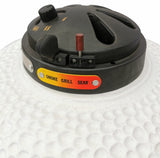
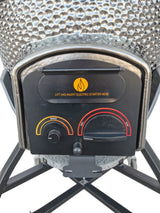
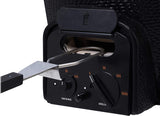
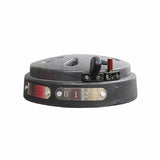
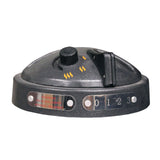
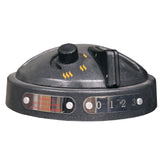
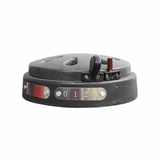
1-Series Vent Guide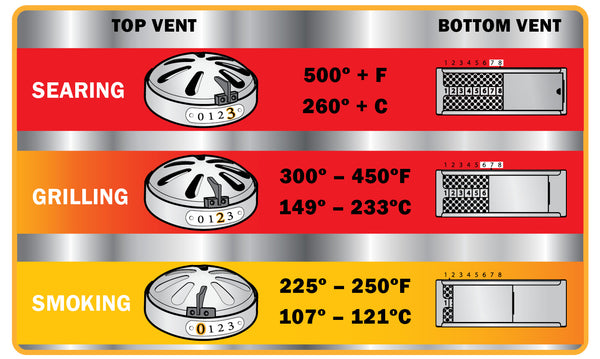
B-Series Vent Guide

C-Series Vent Guide
Elite Series Vent Guide
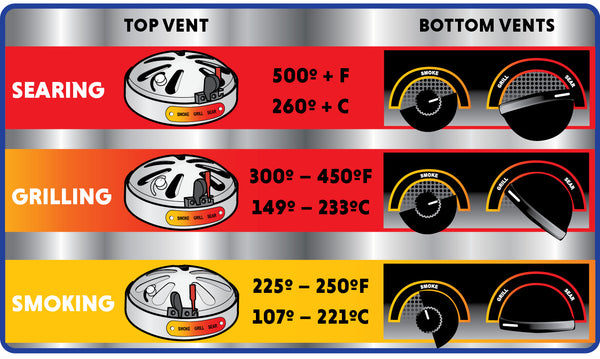
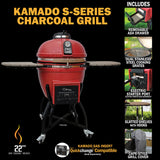
S-Series Vent Guide
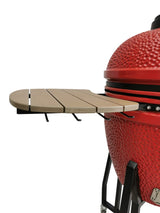
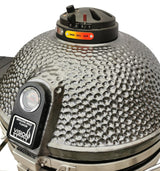
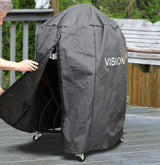
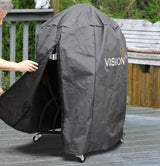
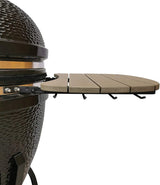
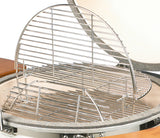
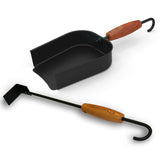
Maintenance
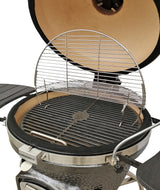
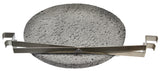
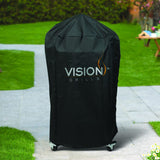
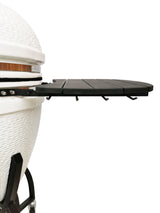
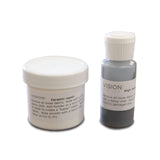
Maintained properly, Vision Grills Ceramic Kamados should provide a lifetime of grilling. The exterior ceramic can be wiped down with a nonabrasive soap and water solution and rinsed with water. The interior of the Kamado needs no cleaning and over time will season. To ensure full protection, it is recommended that Vision Grills Ceramic Kamados be covered when not in use. Should your Vision Grills Ceramic Kamado be chipped during use, contact Vision Grills for a chip repair kit. As with all ceramic products, over time your glaze will develop a patina — it is not uncommon to see fine lines in the glaze. Because this grill will outlast all metal types of grills, you should expect that some parts will normally wear out and will need replacement over time to keep your Vision Grills Ceramic Kamado at peak operating performance — including the cooking grates, electric starter pocket (Professional C- and S-Series only), fire bowl, and vents.